About
PassWeaver-GUI is a WEB interface to PassWeaver-API, bringing you a portable, collaborative and enterprise-scale password management system.
PassWeaver-GUI is an opensource project, released under MIT license. See Technical info for some details.
Features
These are PassWeaver GUI feature, in random order:
- Personal folders for each user
- Authentication with Google OAuth2
- Favorite items
- Link items in other folders
- Share one-time secrets with anyone, even if they have not an account; an alternative server name can be specified in case of public shares
- Optionally expose anonymous page for one-time secrets generation
- One-time share items (also with optional server name)
- Share items through permalinks; an alternative server name can be specified for these links
- External KMS integration (Google Cloud Key Management Service, at the moment)
- Read only mode
- Folder level permissions
- User groups
- Extensive log on items and logins
- Both LDAP and local authentication
- API keys with IP and day-of-week/time whitelists
- CSP compliant pages
- Quick and clean user interface
- Light and dark theme setting for each user
- Uses Undici library for maximum HTTP performance
Forewords
PassWeaver-GUI is a complete frontend for PassWeaver-API; everything you can do with your items, folders, users and groups is defined in PassWeaver-API. See docs at this link for a detailed description of what PassWeaver-API is.
While PassWeaver-API is a generic and independent backend API, PassWeaver-GUI is its perfect UI companion.
Basics
With PassWeaver-GUI you will manage these entities:
- Items, holding your secret data
- Items type
- Users
- Groups
- Folders
- One time secrets
- API keys
- KMS
In a few words:
- items are stored in folders, and folders can contain both items and other folders.
- users join groups (one or more), and…
- groups can read or write a given folder, its items and subfolders.
Login
Access the site using your credentials:
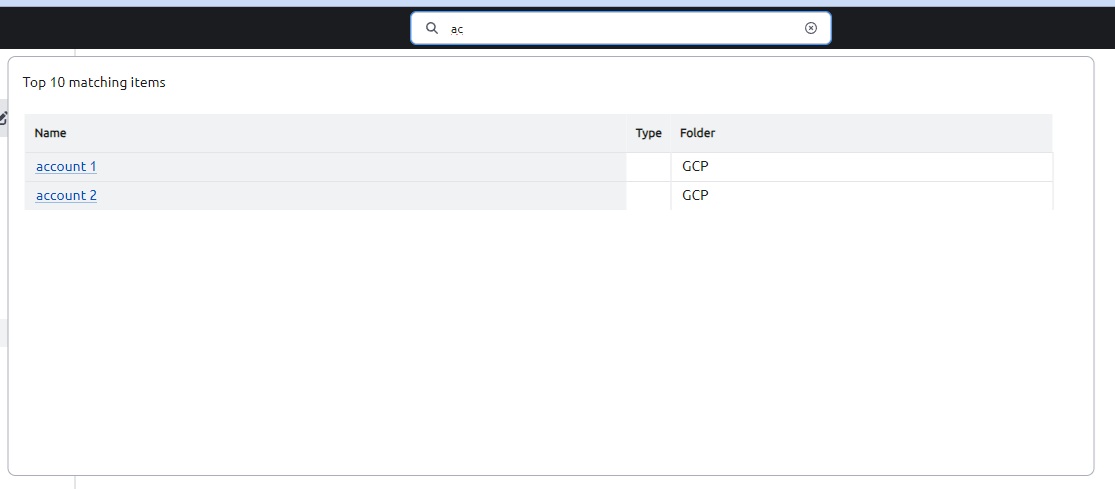
Searchbox
In the top bar you can fast search items: the top 10 results will be shown:
Items
This is what the items page looks like:

In “Folders” left pane you can create a subfolder, modify or delete a folder, if you have write permissions. You can also search for a folder and use the previous/next buttons to navigate the tree.
In “Items” right pane you have a list of folder items with the following actions:
- Toggle favorite
- View item
- Edit item
- Delete item
- Clone item
- Copy link
- One-time share link (see below)
- View history
You have also buttons for showing or copying the passwords without the need of showing them.
You can create items using the blue “plus” button.
Some actions may be unavailable if you don’t have write permissions on the folder.
By double clicking the item title, or by clicking on details or edit buttons, the following popup is shown.
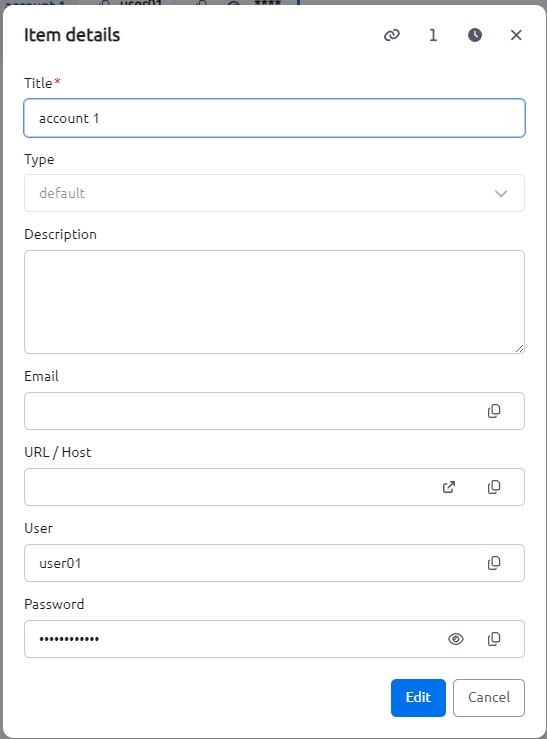
In the header, you have buttons to:
- copy the item permalink and to show the item history
- one-time share the item
- see item activity
When creating a new item, only the “Title” field is mandatory, all the remaining fields are optional.
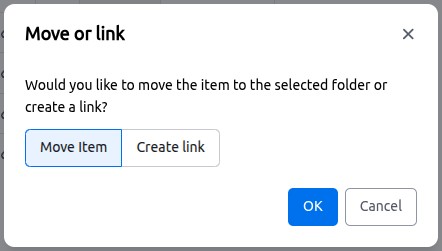
Move or link items with drag ‘n’ drop
Items can be dragged and dropped to another folder you have write access to, and then you can choose:
- to move it
- to link it. See below
Linked items
When dragging an item to another folder, you can choose to create a link: this will create indeed a “linked item” in the destination folder.
Linked items are useful in case you want to share somewhere else a single item contained in a folder other users cannot see (no premission to read). Linked items cannot be modified, but changes to original items will reflect on any link.
You can link an item many times, but when you delete the original item, all linked items will be deleted too.
One time item share
By clicking the “One time share” icon (the circled 1) in item list, you can share this item with someone who normally does not have access to the folder (or even to the application itself): you’ll be prompted with a dialog to choose the type of “peer” you are willing to share with:
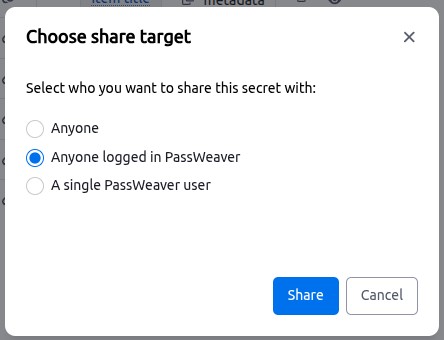
By clicking “Share” button, a link will be copied in your clipboard: share this link with your peer and he will be able to show this item, only once.
For public links (items shared with anyone) you can also specify an alternative server name, see below
Personal folders
Each user has a personal folder named after its login. Only the user can unlock this folder because it’s protected with an additional password that is set the first time the user clicks on the folder:
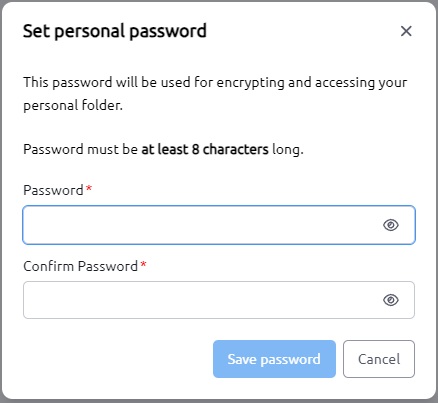
Note that this password is used to further encrypt user’s personal items, so if it get lost it will not be possible to decrypt them anymore!
The password will be asked again at every new login:
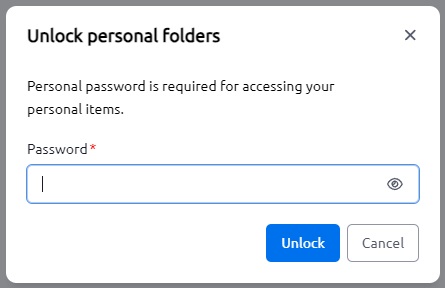
Once unlocked, the personal folder will work as any other folder.
Search
You can search items by using the left pane menu or by clicking Ctrl+\ as a shortcut (start typing something and press Enter).
You can search items with a matching title, username or folder name (parents included) within all the folders you have access to. Items can be filtered by type and favorite flag.
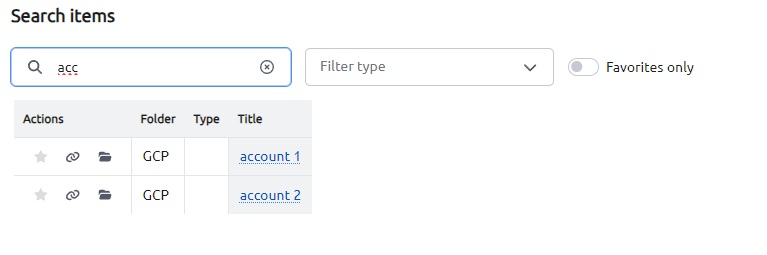
In the actions column, you have buttons to toggle favorite, view the item, copy the permalink or access the folder.
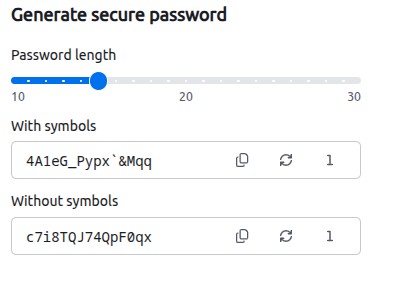
Generator
This page lets you generate a random secure password both with symbols or without. You can copy it or generate another one by clicking on the wand button. By clicking the circled “1” icon, you can rapidly create a one time token (see below).
One time secret
With one-time-secret you can share a secret information by creating a public link that will be visible only once.
Type the secret and then press the “Create link” button:
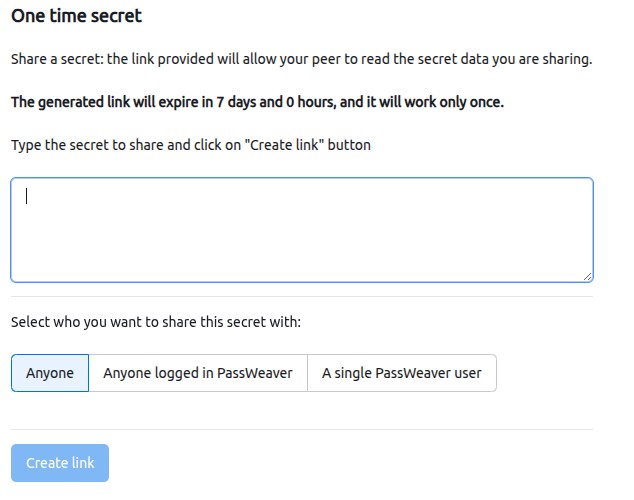
You can decide who is authorized to read this secret:
- Anyone: anyone who has the link, logged in or not in PassWeaver (public links)
- Anyone logged in PassWeaver
- A specific logged in user
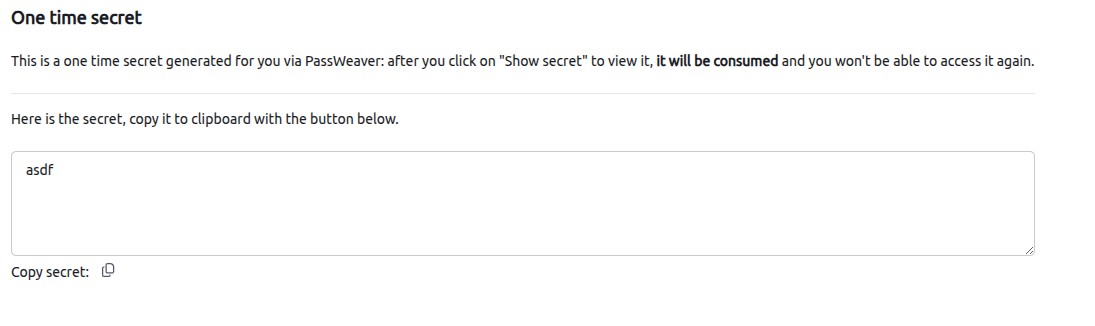
You can then share the link with your peer: the link is public and will be usable only once.

By clicking the “Show secret” button, the secret will be displayed, and the link will be “burnt”:
Note that you can expose the “anonymous” version of this page, so anyone can create one time secrets even if not authenticated. See enable_public_creation configuration below.
Alternative server name for public links
You can configure (see onetimesecret_public_server in Configure below) a different server name for public links (onetime secrets shared with anyone): this is convenient in case you
want to publish on the Internet only the page that allows anyone to see public shared secrets, but not the entire site (e.g. no login page): you can then configure a reverse proxy to accept requests for your
“alternative” domain name only if they begin with /noauth/onetimesecret or /public.
Preferences
In the “Preferences” page, you can:
- Choose your theme (light or dark) and your font
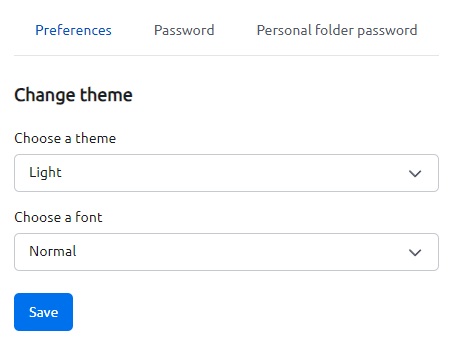
- Change your login password (if Authentication is
local, see Users )
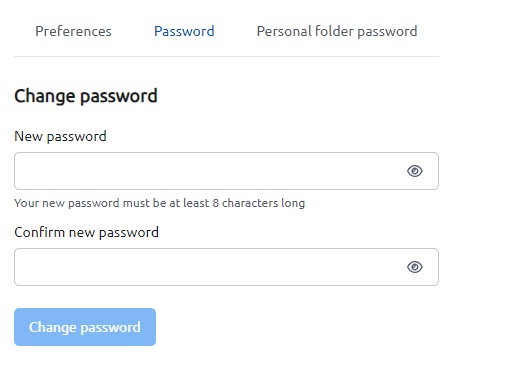
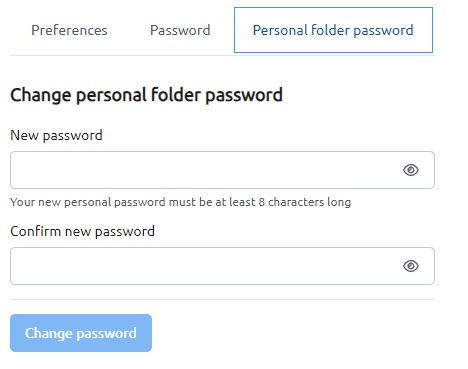
- Change your personal folder password (if you have unlocked the personal folder)
- Reset your personal folder (if you have not unlocked the personal folder)
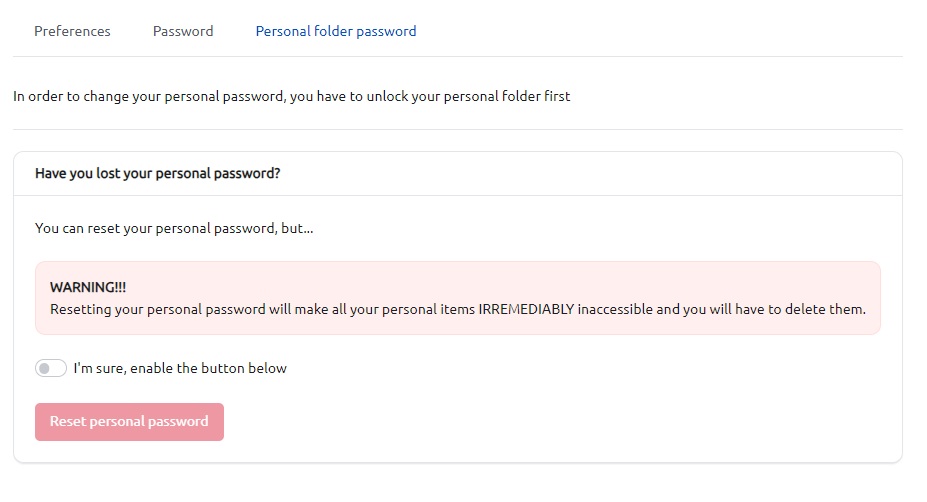
Note that resetting the personal folder password will require you a couple of confirmation steps, because doing so will cause ALL YOUR PERSONAL ITEMS WILL BECOME UNREADABLE, being encrypted with the old password.
Admin pages
Administrators have a different set of pages: they do NOT have access to any item, but they have the possibility to create, rename or delete folders (if empty), manage users and groups, and assign/revoke permissions on folders to groups.
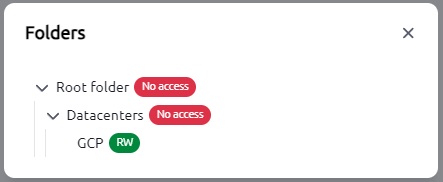
Folders
In this page you can assign/remove groups to a given folder, and you can toggle the permissions by clicking on the shield icon.
Inherited permissions from parent folders cannot be modified.
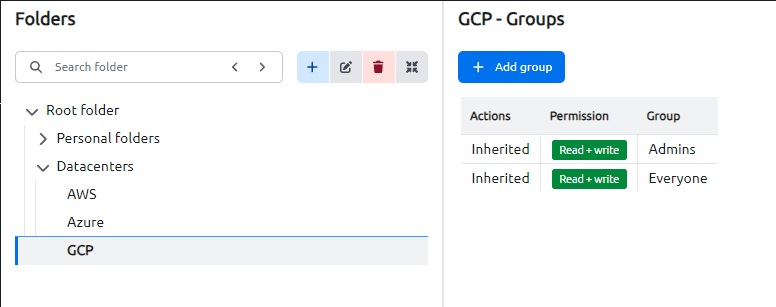
Admins can create or rename folders and also delete folders, if empty.
Users
From this page you can add or delete users, and assign/remove the groups membership.

Activity
By clicking the history button (the clock icon) in user list you can access a history of user’s activity:
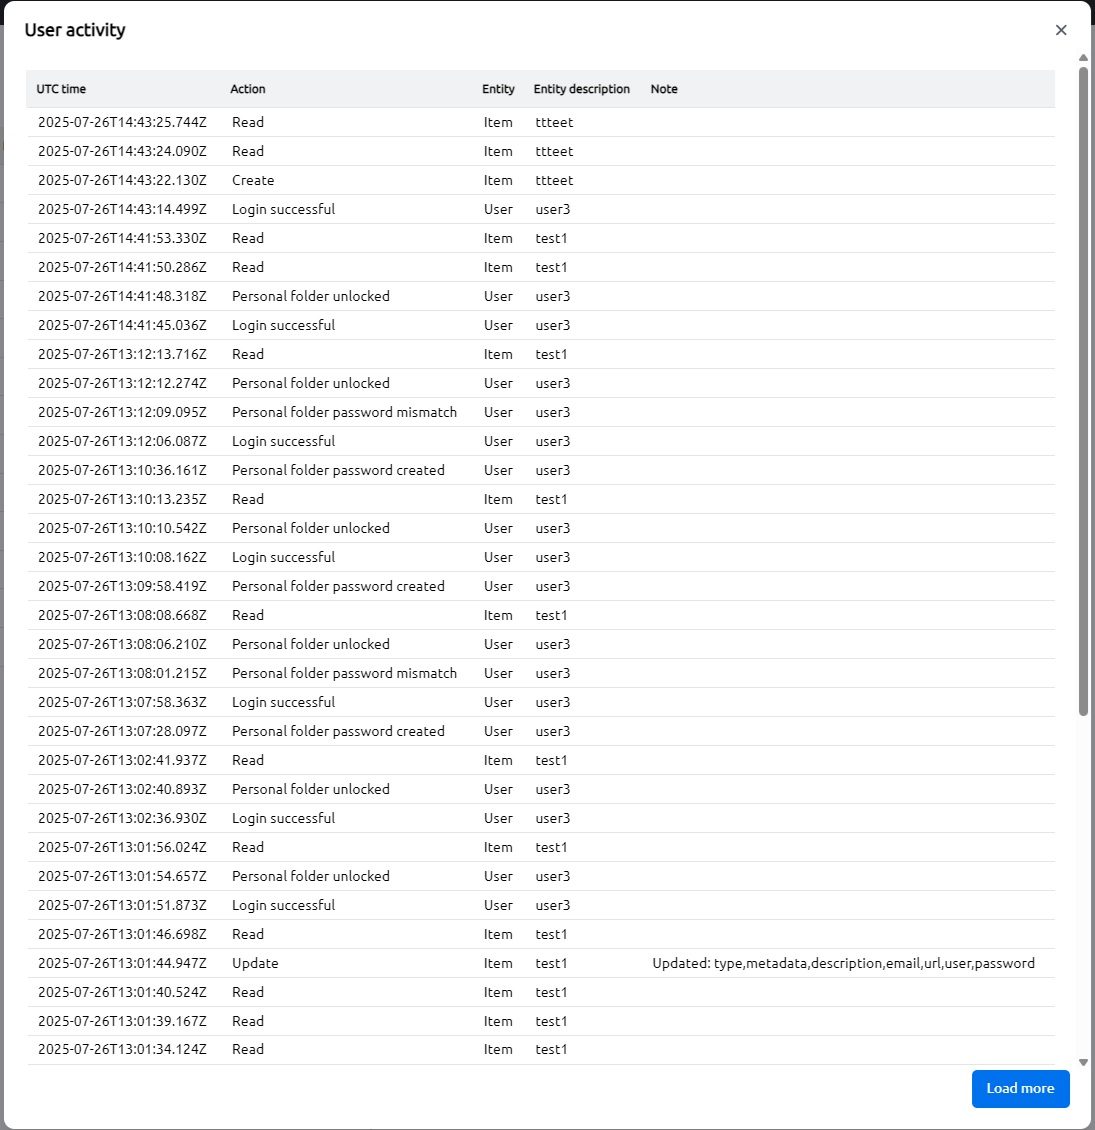
Only more recent events are shown, click on “Load more” button in order to load more activity.
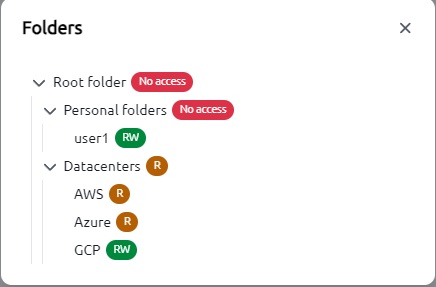
Folder visibility
By clicking the folder icon in user list, you can see what folders he has access to:
User groups
You can copy the current users groups in order to assign them to another user:
- Select a user from the list
- Click “Copy groups” button
- Select the target user
- Click:
- Paste groups: add the copied groups to the target users
- Replace groups: replace target user’s groups with the copied ones
When creating a new user you’re prompted with this dialog:
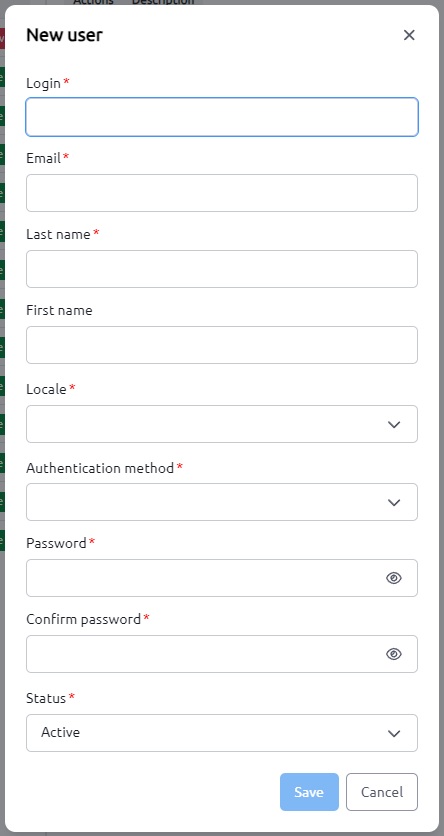
- Login: mandatory
- Email: mandatory
- Last name: mandatory
- First name
- Locale: at the moment only en_US is supported; mandatory
- Authentication method:
localorLDAP; mandatory - Password and confirm password: only used in
localauthentication, they are nevertheless mandatory even if you useLDAPauth.
Groups
From this page you can create or delete groups, and add/remove members. You can nest groups, but membership is NOT inherited: the user is only member of explicitly assigned groups.
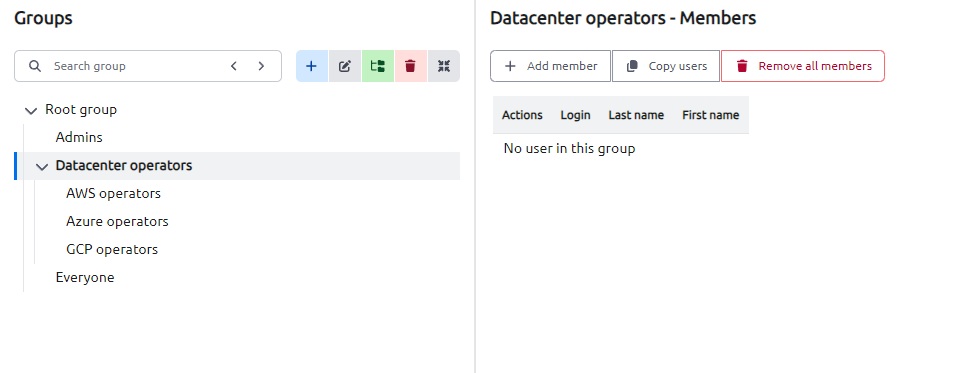
You can also copy all users of a group and paste/replace into another, as already explained for users.
Item types
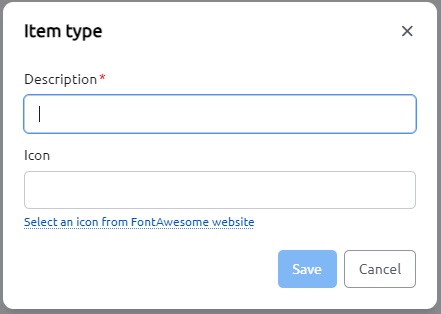
From this page you can manage item types:

Note that when you delete and item types, every item that used that type will be reset to ‘null’.
When creating an item type, you have to set a name and and optional icon (FontAwesome 7):
API keys
In this page you can manage API keys access. API keys are bound to a user and inherit their permissions.
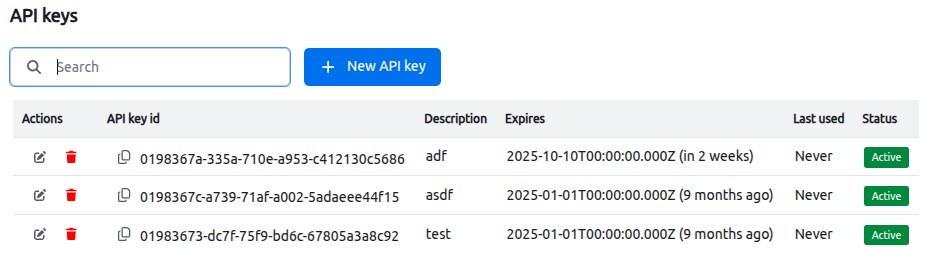
To create a new API key, click on “New API key” button and fill in the form:
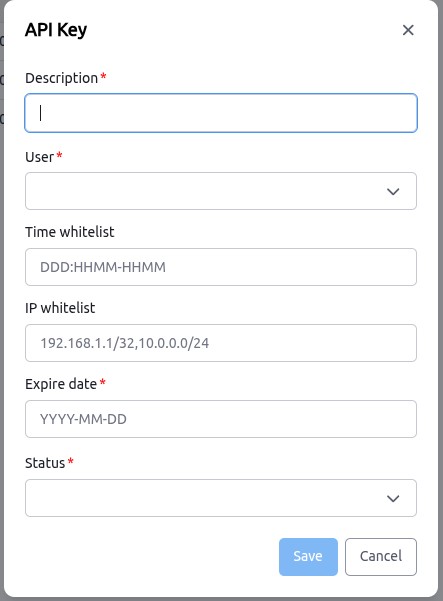
The required fields are:
- API key description
- User to bound the API key to
- Expire date, in YYYY-MM-DD form
- IP whitelist: you can specify a comma-separated list of CIDR subnets allowed to access the API Key
- Time whitelist: you can specify a comma-separated list of times when an API key is allowed. The time string is formatted as DDD:HHMM-HHMM where:
- DDD is the day of week: MON, TUE, WED, THU, FRI, SAT, SUN, or ANY for any day of week
- HHMM is an hour express in 24h (e.g. 1400): the first is the starting time, the second is the ending time
- For example, ANY:2200-2359 means any day of week, from 22:00 to 23:59
- The timezone is the one where PassWeaver API is running
- Active status of the key
Once the key is created, you are given the API key data:
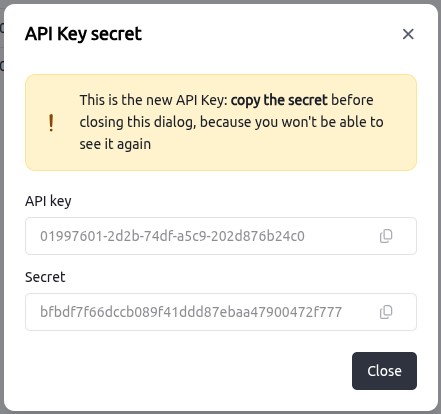
- The API key ID
- The API key secret: note that this secret won’t be show again, so copy it before closing the dialog
You can edit the description, the expiring date and active status of any existing API key, as well as completely delete them.
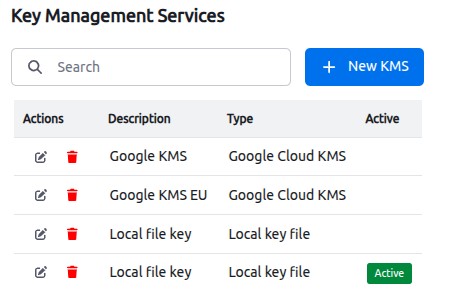
KMS
From this page you can create, delete and activate or disactivate KMS (Key management service)
When creating a KMS you need to input:
- a description
- a configuration, in JSON format
- the “active” flag.
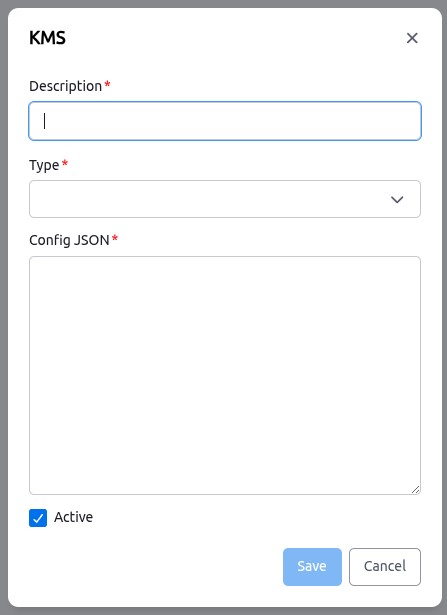
The ‘Active’ flag means that - starting from that precise moment - every new and updated item will use this KMS for encryption.
More details about how KMS work and their configuration can be found at Passweaver-API page
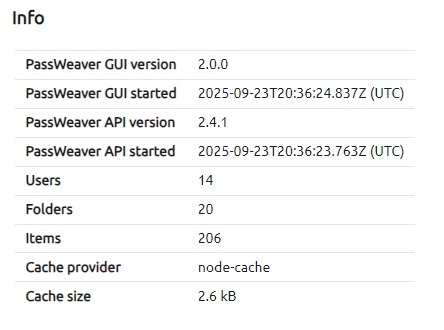
Info
This page displays some information about API and GUI status:
Settings
Clear cache
In the “Cache” tab, you can reset the API cache causing it to reload users permissions and visible folders.

Clearing the cache is needed only after directly operating on the database… which is not advisable anyway.
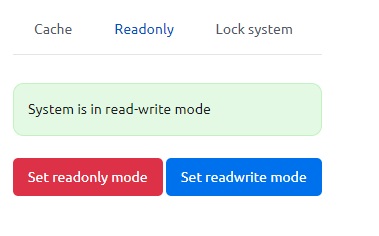
Read-only mode
Admins can set the system in a read-only status: this will make all write operations (even admin ones like creating new users) result in an error.
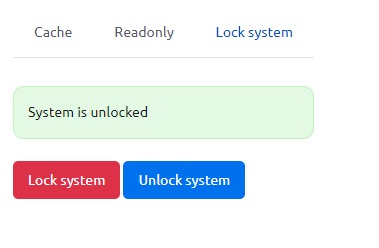
Lock system
When locking the system, only admins will be able to login; all currently logged in users will be logged out automatically.
Note that when you click the “Lock system”, you will be logged out as well (but being an admin, you will be able to log back in).
Install and run
Prerequisites
In order to be able to install PassWeaver API, you need:
- NodeJS and npm
- A running PassWeaver-API
A running Redis instance is warmly advised for a production environment.
Install
- Download the latest release from GitHub lastest release
- Install all dependencies with npm:
npm ci
Configure
Copy config-skel.json to config.json and adjust the options; note that ALL configuration entries are mandatory, leave blank if not used.
listen:port: port to bind the HTTP serverhost: IP address to bind the HTTP server (or blank for any address)
passweaverapi_url: URL for PassWeaver-API (including /api/v1)server:item_link_server: If not blank, this URL will be used for items links, instead of the current one it must be in the form protocol://server<:port> (e.g. https://my.server.com)onetimesecret_public_server: If not blank, this URL will be used for public one time secrets, instead of the current one; it must be in the form protocol://server<:port> (e.g. https://my.server.com)rate_limit_max_requests: Max number of request PER MINUTE for these two pages:- Authorization page (not the login page, but the one called after you insert the credentials)
- If
onetimesecret_public_serveris specified, the public link for onetimesecrets
company_name: Company namelog:dir: Logs directory. It will be created if necessary.rotation: Rotation interval. For example, “12h” or “1d”retention: Log files retention (number of rotated log files kept)
https:enabled: HTTPS enabled (true/false)certificate: certificate file pathprivate_key: certificate private keyhsts: enable HSTS (true/false)
onetimetokens:default_hours: Default one-time tokens expiration in hoursenable_public_creation: if true, a ‘/noauth/onetimesecret’ path is exposed: this will let unauthenticated users create one time secrets.
redis:enabled: true or false; if false, internal cache is used (not good for production)url: Redis url
folders:user_managed: if true, non-admin can create and delete folders; false otherwise
generate_password_length: Generator password length (minimum is 8)http_cache_size_mb: Internal HTTP cache size in MB (used by Undici lib); minimum is 1auth:google_oauth2:enabled: if true, you can login with Google OAuth2. Keep in mind that in this case your environment needs to have these variables:GOOGLE_CLIENT_ID: Your Google Client IDGOOGLE_CLIENT_SECRET: Your Google Client secretREDIRECT_URI: The redirect URI Google has to call after authentication. It must behttps://yourserver/login/google/callback
Environment
If you’re installing a production environment, don’t forget to set variable NODE_ENV to production, Passweaver GUI and some of its dependencies use this variable to optimize operations.
Run
You can run PassWeaver GUI by executing:
npm start
Technical specs
Passweaver-GUI is developed in NodeJS and uses these great libs (among others):
ExpressJS(v5)EJSfor HTML templatingWebAwesomeWEB componentsMorganfor loggingHelmetandLuscafor CSFR and CSP complianceUndicifor HTTP requests to API and caching